
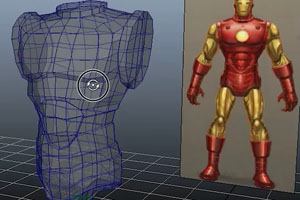

Reference Image 3D Modeling (Maya)
Reference image 3d modeling technique is to help modelers speed up their modeling process by 'drawing' over their reference images or designs accurately. With just 5 to 10 minutes to insert a reference image before starting to model a 3D object, you speeds up your...Welcome to iLearnToAnimate!
 Hi! I’m Nash Lin and I'm sharing my animation skills and knowledge on this blog!
I hope you will learn some animation skills and tips here. Learn more about my animation journey and introduce myself!
FREE Animation Cheat Sheet for Beginners when you subscribe!
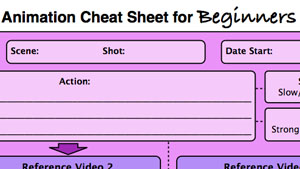

FREE Animation Cheat Sheet for Beginners when you subscribe!