


Learn to create bouncing ball flash animation for beginners!
If you are new to learning animation, this is the best tutorial to get you started! Every animator starts to learn animation by creating a bouncing ball animation. In this video tutorial, I'll guide you to use an animation software called Adobe Flash (version CS4 and...
Learn how to move entire Flash animation on the stage
Now that I've created my Flash animation on the timeline, I realized that I need to edit my animation by shifting the animation's position. The problem here is that when I move the first keyframe, the rest of the animation did not move together. It will be very...Welcome to iLearnToAnimate!
 Hi! I’m Nash Lin and I'm sharing my animation skills and knowledge on this blog!
I hope you will learn some animation skills and tips here. Learn more about my animation journey and introduce myself!
FREE Animation Cheat Sheet for Beginners when you subscribe!
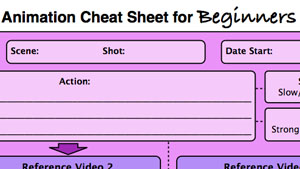

FREE Animation Cheat Sheet for Beginners when you subscribe!